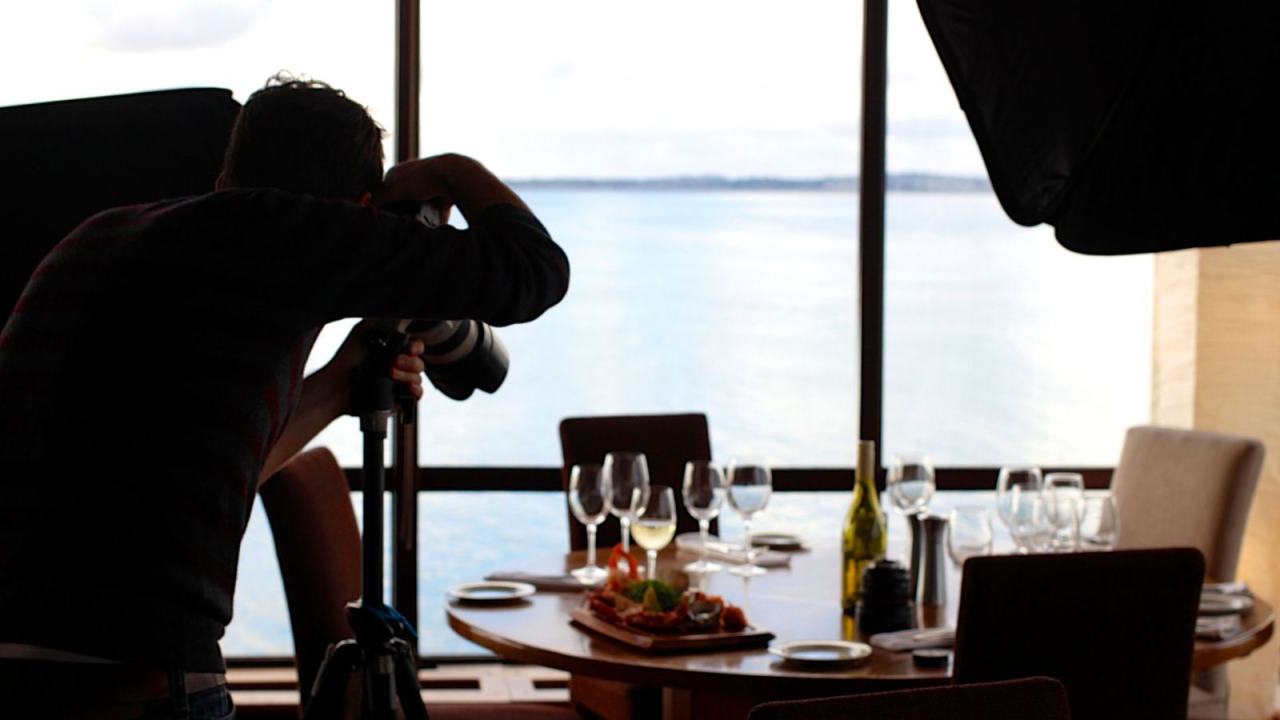
Want your home-cooked dinners to look as good as they taste? These food photography tips come down to soft natural light, a simple background and the right angle for each dish. You don’t need expensive gear.
For more ideas around the kitchen, browse the food and drink guide.
| Item | Value |
|---|---|
| Best window light | Indirect sunlight; north-facing windows are ideal |
| Aperture on a DSLR or mirrorless camera | Between f/2.8 and f/5.6 |
| ISO range | 100 to 400 |
| A favourite dish angle | About a 45-degree angle |
| Supporting props per scene | Two to three, alongside one hero dish |
These figures come from Click and Learn Photography and Anova Culinary’s food photography guide. They are one photographer’s advice and can change, so check the sources before you rely on them.
Start with soft, natural light
Anova Culinary’s guide calls lighting the single most important element in photographing your food, and the one most often overlooked (Anova Culinary). Fix it first and an ordinary weeknight dinner starts to look far better.
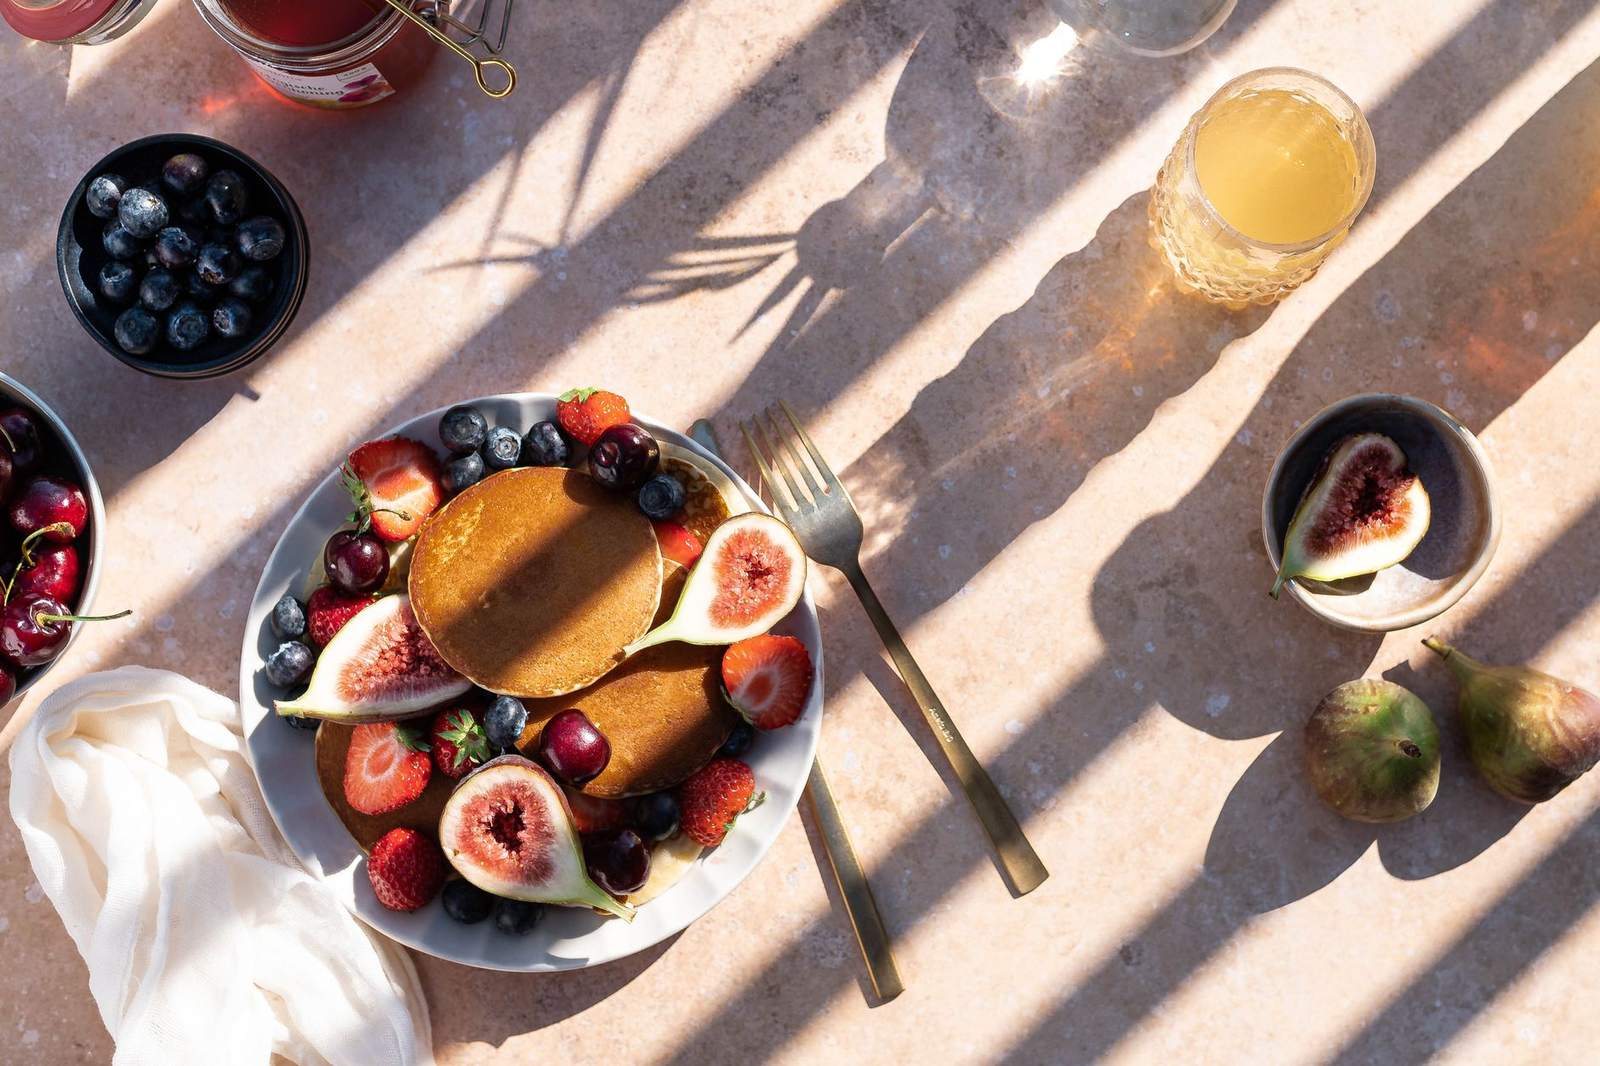
Set your dish on a table beside a window that gets indirect sunlight. Click and Learn Photography recommends the largest such window in your home and says north-facing windows are ideal because the light stays consistent through the day (Click and Learn). Then switch off nearby lamps and overhead lights, because Foodess warns they mix orange-tinted bulbs into the daylight (Foodess).
If the light is still harsh, soften it or fill in the shadows:
- Diffuse it. A semi-sheer white curtain can do the job of a professional scrim, according to Foodess.
- Bounce it. Tape white foam board on the opposite side of the dish from the window to fill hard shadows, as Click and Learn suggests.
- Wait for clouds. Picfair notes that overcast days act like a giant softbox and give even light through a window (Picfair).
- Watch the glare. Strong direct sunlight can look too bright and bleach out the details of a dish, per Picfair.
Try each fix one at a time so you can see exactly what changes in the photo.
Find your best spot at home
Anova’s guide suggests a simple test: make a cold dish such as a salad, walk it around a few areas near your kitchen and take a picture at each (Anova Culinary). The photos show you which spot wins, so you only need to do this once.
The guide’s author shot on a kitchen island about 5 feet from a window that faces north, and used blinds to control how much brightness came through (Anova Culinary). A spot like that gives you indirect light you can adjust.
After dark, daylight is gone. Foodess says that if you can only shoot after the sun goes down, a real photography tent at about $100 is worth buying (Foodess). Click and Learn offers a cheaper route: a simple LED panel with adjustable color temperature, placed where your window would be (Click and Learn).
Let the direction of light show texture
Where the light comes from changes how a dish looks. Side light is the most versatile, because it reveals texture in bread crusts, grill marks and layered desserts (Click and Learn).
Backlight works beautifully for drinks, soups and glossy surfaces, according to the same guide (Click and Learn). A tall glass of lemonade, such as one made from the homemade lemonade recipe, is a good first subject to practise on.
Avoid front light, meaning light coming from directly behind you. Click and Learn says it flattens the food and removes the shadows that give depth, which is exactly why on-camera flash produces such unflattering photos (Click and Learn).
Which angle suits your dish?
Anova’s guide says there is no single right angle. Its author favours shooting straight on or down, or at about a 45-degree angle (Anova Culinary). Three questions help you choose:
- Overhead: Picfair says a straight-down approach gives you a full view of the food (Picfair).
- Side angle: the same guide says it adds a different dynamic and highlights details of ingredients or other items (Picfair).
- Height check: Anova suggests asking whether the dish has height, and which angle shows it best (Anova Culinary).
When in doubt, shoot them all. Anova’s author quickly snaps several angles and picks a favourite after eating (Anova Culinary). Check what sits behind the plate too, since a dusty patio table makes a poor backdrop for a beautiful salad.
Style the plate and keep the background simple
Start with a clean, simple plate. Click and Learn says white or neutral tones work best for beginners, and that the background should complement the food, not compete with it (Click and Learn).
Pick a backdrop to match the mood you want. A lighter background can help brighten an image, whereas a darker tone looks moodier (Picfair).
Props should tell a story without cluttering the frame. Click and Learn suggests one hero dish with two to three supporting props, such as a linen napkin or a wooden spoon, and leaving some empty space so the eye can rest (Click and Learn).
Garnish right before you shoot, so herbs stay fresh and the food looks its best (Click and Learn). If a recipe needs scaling first, the cooking measurement conversions page helps you cook the dish properly before the camera comes out.
Camera, phone and editing basics
You don’t need much gear. Anova’s author uses only a phone, with no camera, lighting contraptions or Photoshop (Anova Culinary).
If you shoot with a DSLR or mirrorless camera, Click and Learn recommends aperture priority mode, marked A or Av. These starting points come from the same guide:
- Aperture: set it between f/2.8 and f/5.6 for soft background blur that draws the eye to the food (Click and Learn).
- ISO: keep it as low as possible, from 100 to 400, to avoid grain (Click and Learn).
- File format: shoot RAW, which gives far more flexibility when you adjust white balance.
- Lens: use a 50mm prime if you have one (Click and Learn).
Keep editing light. Adjust white balance so colours look true to life, boost clarity slightly and make sure whites are actually white. Free tools such as Snapseed on your phone handle these basics (Click and Learn).
Frequently asked questions
Do I need an expensive camera for good food photos?
Show answer
No. Click and Learn says mastering natural light, simple backgrounds and a suitable angle can make your photos look more professional even on a smartphone (Click and Learn).
Is it ever okay to use flash?
Show answer
Pointing the camera’s own flash straight at the dish is the habit to drop. Foodess says an external flash aimed at a reflector or white wall can give softer light with reasonable success (Foodess).
What if the sun through my window is too strong?
Show answer
Cover the glass with parchment paper. Click and Learn lists it alongside a thin white curtain as a quick way to diffuse hard shadows (Click and Learn). You can take it down again when the light turns gentle.
Should I use filters on food photos?
Show answer
Use them sparingly. Anova’s author treats filters as a way to restore what a camera loses, not to turn the dish into something it never was in real life (Anova Culinary).